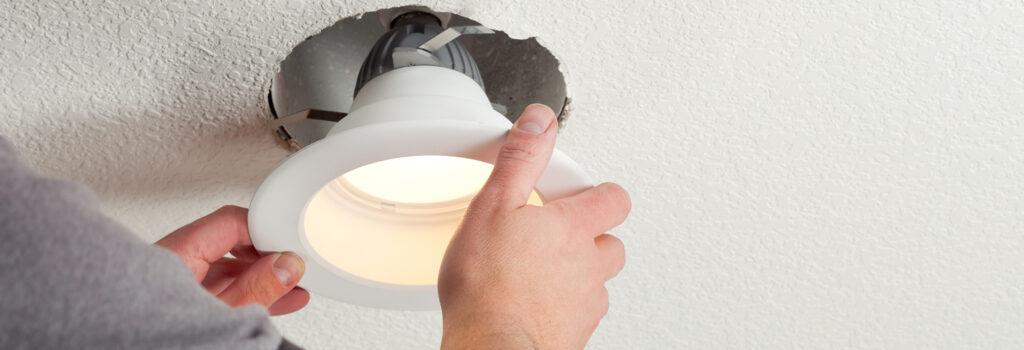
How Do You Install a Light Fixture? A Step-by-Step Guide
Upgrading your lighting can instantly enhance your home’s ambiance and functionality. How do you install a light fixture? The process involves shutting off power, connecting wires correctly, and securely mounting the fixture. While it may seem simple, improper installation can lead to safety hazards like short circuits or flickering lights. Whether you’re replacing an old light or installing a brand-new fixture, following the correct steps ensures a safe and efficient setup. This guide will take you through each phase of light fixture installation, from gathering the necessary tools to finalizing the connection.
How Do You Install a Light Fixture? Getting Started
Tools and Materials Needed
New Light Fixture
Choose a fixture that fits the room’s lighting needs and aesthetic.Screwdrivers (Flathead & Phillips)
Essential for removing the old fixture and securing the new one in place.Voltage Tester
Ensures there is no electrical current running before you start working.Wire Strippers
Used to remove insulation from wires for proper electrical connections.Wire Nuts and Electrical Tape
Securely fasten the wiring to prevent loose or exposed wires.
How Do You Install a Light Fixture? Step-by-Step Instructions
Turning Off the Power
Locate the Circuit Breaker
Find your home’s electrical panel and switch off the correct breaker.Use a Voltage Tester
Double-check that there is no power running to the fixture wires.Remove the Old Light Fixture
Carefully unscrew and disconnect the existing fixture from the ceiling or wall.
Wiring the New Light Fixture
Match the Wires Correctly
Connect black to black (hot), white to white (neutral), and green/bare to ground.Secure the Wire Connections
Use wire nuts and twist them securely to prevent loose connections.Wrap Electrical Tape Around Connections
Adding electrical tape provides an extra layer of safety.
Mounting and Testing the Light Fixture
How Do You Install a Light Fixture? Final Steps
Attach the Mounting Bracket
Secure the bracket to the electrical box to hold the fixture in place.Position and Secure the Fixture
Carefully align the fixture and tighten screws to ensure stability.Install the Light Bulbs and Cover
Insert the correct wattage bulbs and attach any glass covers or shades.
Testing the Installation
Turn the Power Back On
Switch the circuit breaker back on and test the fixture.Check for Flickering or Dimming
If the light flickers, ensure wire connections are properly secured.Enjoy Your New Light Fixture
A properly installed fixture improves the room’s lighting and appearance.
Common Mistakes to Avoid During Installation
How Do You Install a Light Fixture Without Errors?
Not Turning Off Power Completely
Always verify the power is off with a voltage tester before handling wires.Using Incorrect Wire Connections
Mismatched or loose wires can cause electrical shorts or malfunctions.Skipping the Mounting Bracket
A secure bracket prevents the fixture from sagging or falling.Overtightening Screws
Applying too much force can damage the fixture or strip screws.Ignoring Weight Limitations
Ensure your electrical box can support the weight of the new fixture.
Conclusion
So, how do you install a light fixture? It starts with turning off the power, properly connecting the wires, and securely mounting the fixture. Following these steps ensures a safe and long-lasting installation. Avoiding common mistakes like loose wiring or skipping safety checks is essential for preventing electrical hazards. If you’re unsure about handling electrical components, consulting a professional is always a good option. Proper installation enhances your home’s lighting and ensures reliable performance. Contact us today for Fixture Installation and Repair Services in North Kansas City and nearby areas.

