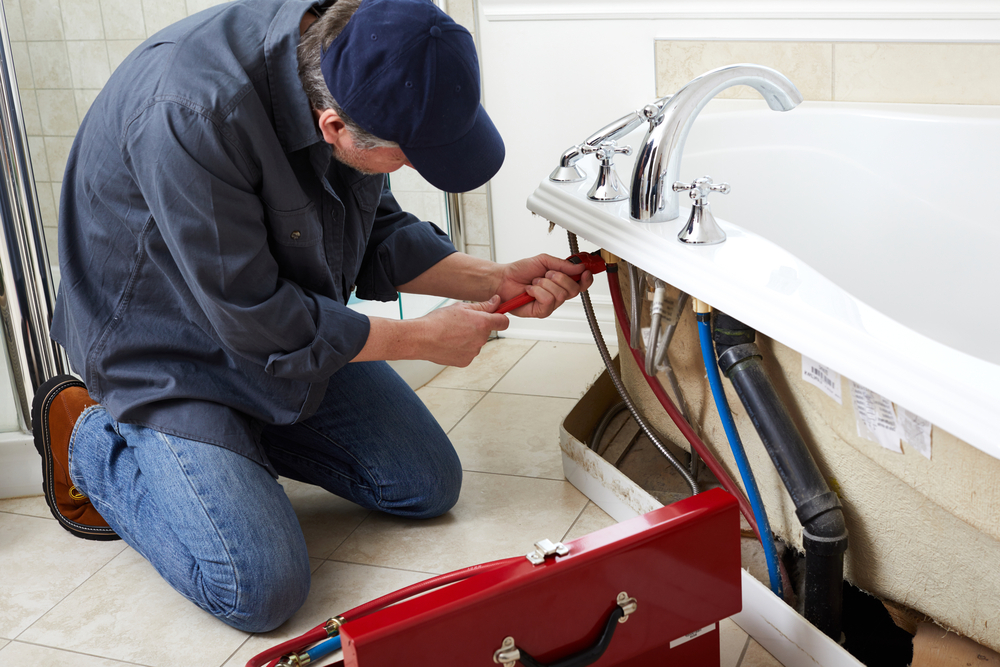
How Do You Fix a Leaky Faucet? A Step-by-Step Guide
A dripping faucet is not only annoying but can also lead to increased water bills and potential plumbing issues. How do you fix a leaky faucet? The process varies based on the type of faucet, but most repairs involve replacing worn-out washers, O-rings, or seals. A minor leak can waste gallons of water over time, making timely repairs essential. Fortunately, fixing a leaky faucet is a manageable DIY task that requires basic tools and minimal plumbing experience. In this guide, we’ll walk you through the steps to identify, troubleshoot, and repair your leaking faucet efficiently.
How Do You Fix a Leaky Faucet? Understanding the Cause
Common Reasons for Faucet Leaks
Worn-Out Washers
Over time, washers deteriorate, allowing water to seep through the seal and cause dripping.Damaged O-Rings
A loose or cracked O-ring can lead to leaks around the handle area of a faucet.Corroded Valve Seat
Mineral buildup and corrosion at the valve seat can cause leakage at the spout base.Loose or Worn-Out Seals
Internal seals inside the faucet can degrade due to repeated use and water pressure.High Water Pressure
Excessive water pressure can force water through tiny gaps, leading to persistent drips.
Tools You Need for Fixing a Leaky Faucet
Essential Supplies for DIY Repairs
Adjustable Wrench
Needed to loosen and tighten faucet nuts without damaging the fixture.Phillips and Flathead Screwdrivers
Used for removing faucet handles and screws inside the fixture.Replacement Washers and O-Rings
Essential for fixing leaks caused by worn-out rubber components.Plumber’s Tape
Helps create a watertight seal when reinstalling parts.Bucket or Towel
Catches any excess water that may leak during the repair process.
How Do You Fix a Leaky Faucet? Step-by-Step Guide
Turning Off the Water Supply
Locate the Shutoff Valves
Most faucets have shutoff valves under the sink to stop water flow during repairs.Turn the Valves Clockwise
Shutting off the water prevents any accidental flooding or leaks while working.Open the Faucet to Drain Water
Running the faucet releases any remaining water pressure in the pipes.
Disassembling the Faucet
Remove the Handle
Use a screwdriver to loosen the handle screws and detach the faucet handle.Unscrew the Packing Nut
The nut beneath the handle secures the faucet assembly and must be removed.Take Out the Cartridge or Stem
Depending on the faucet type, remove the cartridge or stem for inspection.
Replacing Faulty Components
Check for Worn Washers and O-Rings
Inspect rubber washers and O-rings for signs of wear and replace if necessary.Replace the Valve Seat if Corroded
Use a plumber’s tool to smooth out or replace a damaged valve seat.Apply Plumber’s Tape for a Secure Fit
Wrap the threads with plumber’s tape before reassembling the faucet.
Testing and Preventing Future Leaks
How Do You Fix a Leaky Faucet? Final Checks
Reassemble the Faucet Carefully
Secure all components in place before turning the water supply back on.Turn the Water Supply On Slowly
Gradually turn the valves back on to avoid sudden pressure surges.Check for Any Remaining Drips
Monitor the faucet for a few minutes to ensure the leak is fully repaired.
Preventing Future Faucet Leaks
Regularly Inspect Faucet Components
Check washers, O-rings, and seals periodically to catch wear and tear early.Clean Faucet Aerators to Remove Buildup
Mineral deposits in aerators can restrict water flow and cause leaks.Monitor Water Pressure
High water pressure can damage faucets and cause persistent drips.Replace Old Plumbing Fixtures
If your faucet is outdated, upgrading to a modern, efficient model can prevent leaks.Schedule Professional Inspections
A licensed plumber can assess your fixtures and plumbing system for potential issues.
Conclusion
So, how do you fix a leaky faucet? Identifying the root cause, whether it’s a worn washer, faulty O-ring, or loose seal, is the first step toward an effective repair. With basic tools and a step-by-step approach, most homeowners can fix a minor faucet leak without calling a plumber. However, if leaks persist or the issue stems from corroded pipes, professional assistance may be necessary. Routine maintenance, such as cleaning aerators and monitoring water pressure, helps prevent future leaks. Addressing a leaky faucet promptly can save water, reduce utility bills, and protect your home from potential water damage. Contact us today for plumbing repair services in North Kansas City and nearby areas.

